Spring was starting to "spring" here in New Brunswick until we got 10cm of snow yesterday! But hopefully it will all be gone by the end of the week and warmer days will be ahead.
My chair has been slide lined....I thought I knew what I wanted to paint on it, but I just can't seem to get it done, so it is back to the drawing board for me.
I was on Pinterest (which is a fabulous site; you should check it out if you haven't already) and was getting so many wonderful and inspiring ideas from all the pictures. I have been really wanting to make my house a home. Not just a place to live, but a place that really expresses who my family is. I saw a hutch with the letters "H O M E" cut out of wood, painted and sitting nicely on top of the hutch. I thought...I want to make one of those. I went into word and typed out the word "home" and picked four different fonts that I liked. I used one called Kingthings for the "H" , font size 600, Constantia for the "O",font size 550, Berlin Sans for the "M", font size 650, and Bernard MT Condensed for the "E", font size 700. There are many great sites on the web for downloading free fonts. Be careful though, you can spend hours looking and downloading all the wonderful fonts!
I cut them all out of a scrap piece of pine which had knots and rough spots on it. I decided I wanted to use those "imperfections" to make it look old and roughed up. I used my band saw and scroll saw to cut them out. Then I sanded and wiped it clean. I had to be really careful though as pine is soft and I ended up breaking the "H" and the "E". But nothing a little glue couldn't fix.

I chose not to cut the centre out of the "O"....honestly because I didn't feel like it! But it was a good decision, because it forced me to come up with a creative way to use that space.
My kitchen and living room are open to each other. My living room is green and my kitchen is yellow. I chose two different greens, a natural stain colour and a cream colour. I used Deco Art Staining medium mixed with Asphaltum to stain the backs and sides of all the letters. I stained the entire surface of the "M" and the centre of the "O".

For the "H, O" and "E", I sealed with DecoArt multi-purpose sealer the fronts of the letters.
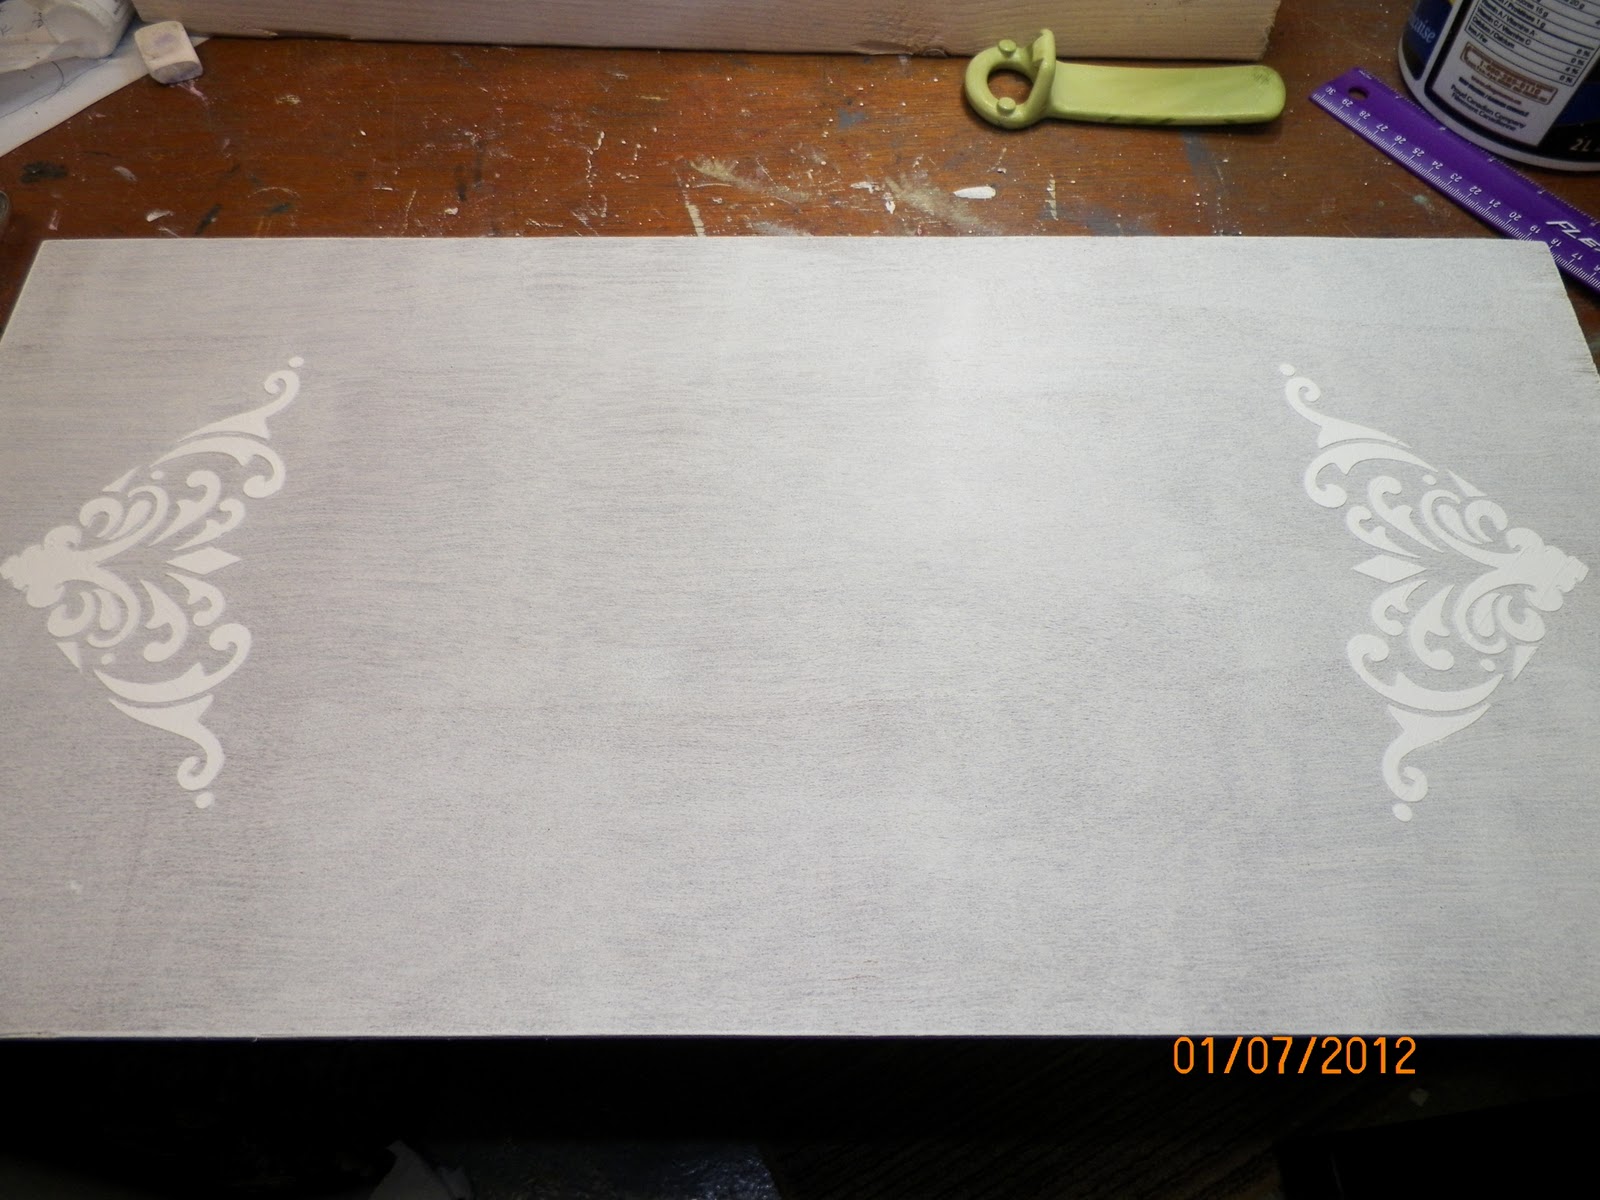
When everything was dry, I based the "H" with a few coats of Light Butter Milk. When it was dry, I applied a stencil and dry rubbed a nice yellow colour to give it some interest.

To make it look old, I sanded down the edges and applied stain to the front of the "H" and then wiped it off quickly. I spattered it with Asphaltum and Light Buttermilk.

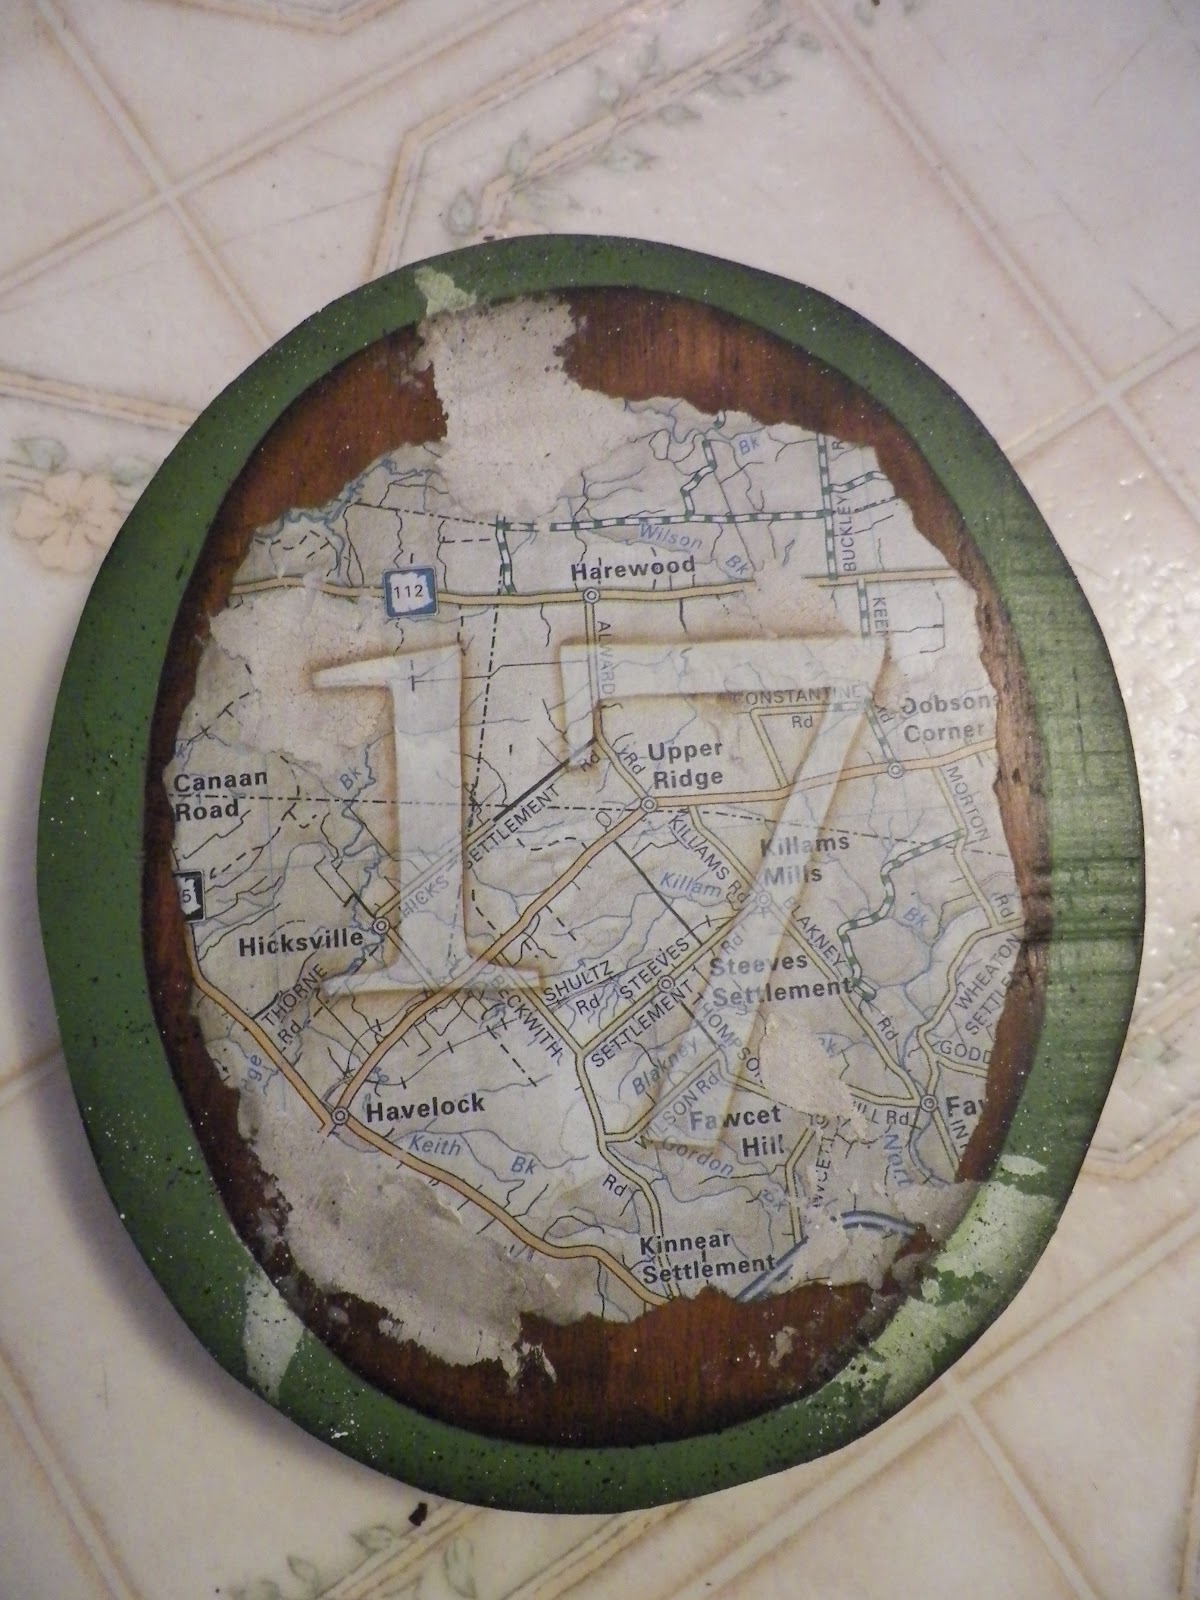
For the "O" I painted it Medium Hauser Green. I found a map of where I live and made a photocopy of it. I tore it out of the paper so the edges would be rough. I used Modge podge to apply it to the "O". When it was dry I applied some DecoArt texture crackle. I shaded and antiqued it with Asphaltum and a small touch of black. I shaded the green part of the "O" with Plantation Pine and Black. Then I spatter with Black and Light Buttermilk. I covered the map area with a tissue so I wouldn't get spatters all over the map. Next, I transferred my house number onto the map and used a wash of Bleach Sand to fill it in. I then shaded around the numbers with Asphaltum.


The "M" was stained with the Asphaltum and the shaded on the edges with Asphaltum and Black and then spattered with Black.

I painted the "E" with Celery. I mixed some Celery paint in with some Texture Crackle and applied it here and there to the letter. When it was dry I sanded it lightly to remove any rough spots. Then, I shaded the letter with Plantation Pine and Black; and then spattered with Plantation Pine and Black.

Finally, to finish off the letters, I applied a coat of Matte varnish. They are going to hang in my kitchen....once I build my shelf!


